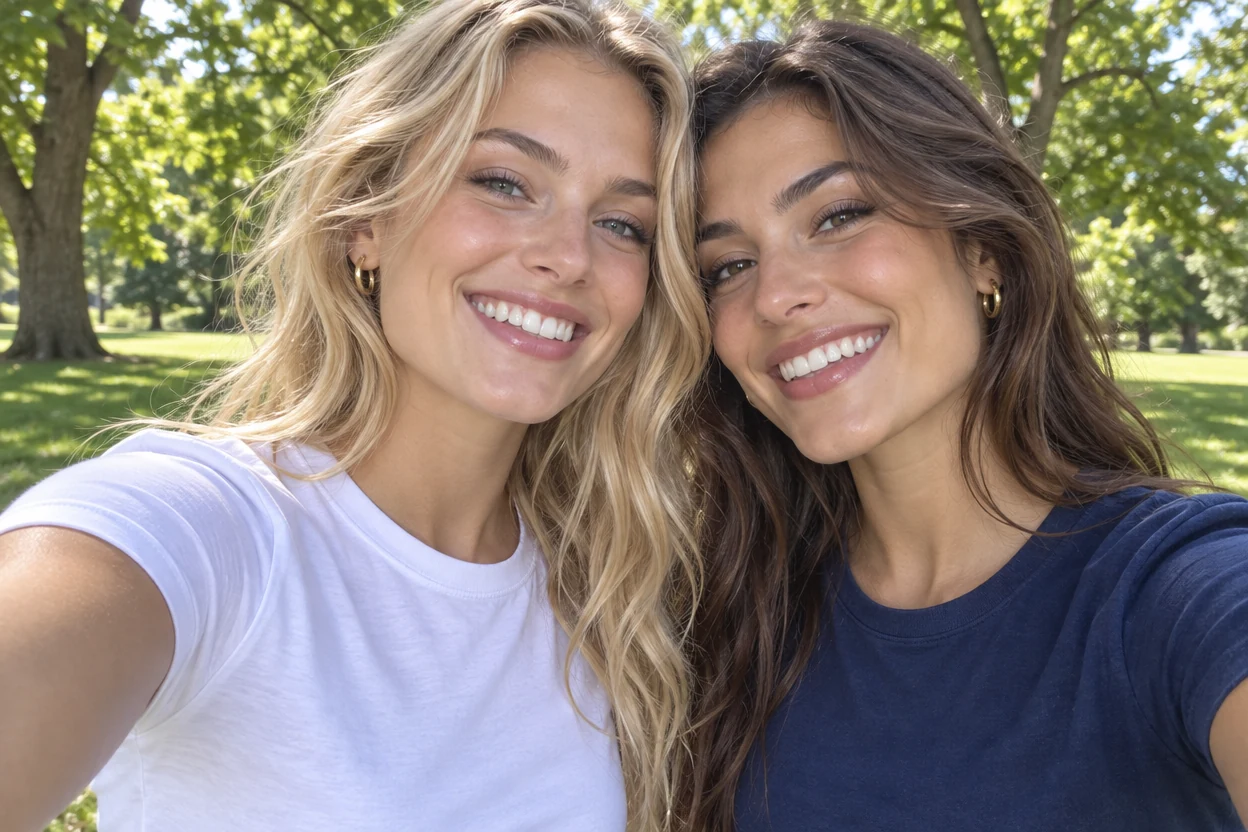
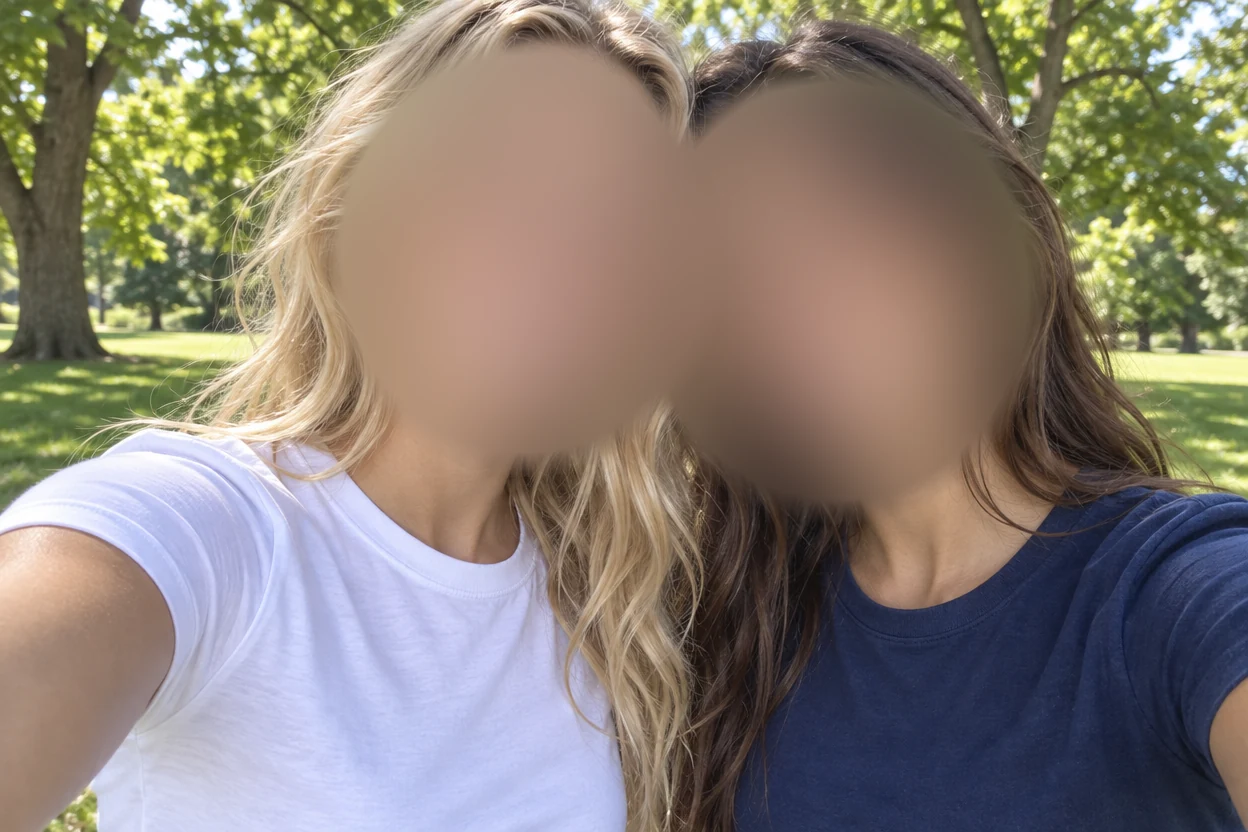
Two faces in a selfie
Find faces covered both faces with one press, and Blur keeps the photo soft and natural.
Open a photo and blur image areas in seconds: faces are found for you, and a box, an oval or a brush blurs anything else, with edges that fade softly into the picture. Blur the whole photo and keep the subject sharp, then download at full size. It all runs in your browser, so the photo never leaves your device.
Drop a picture here
PNG, JPG, WebP, GIF, BMP or AVIF. It stays on your device.
Each photo below was softened with this blur image tool. Open one to see its areas and change them yourself.
Find faces covered both faces with one press, and Blur keeps the photo soft and natural.
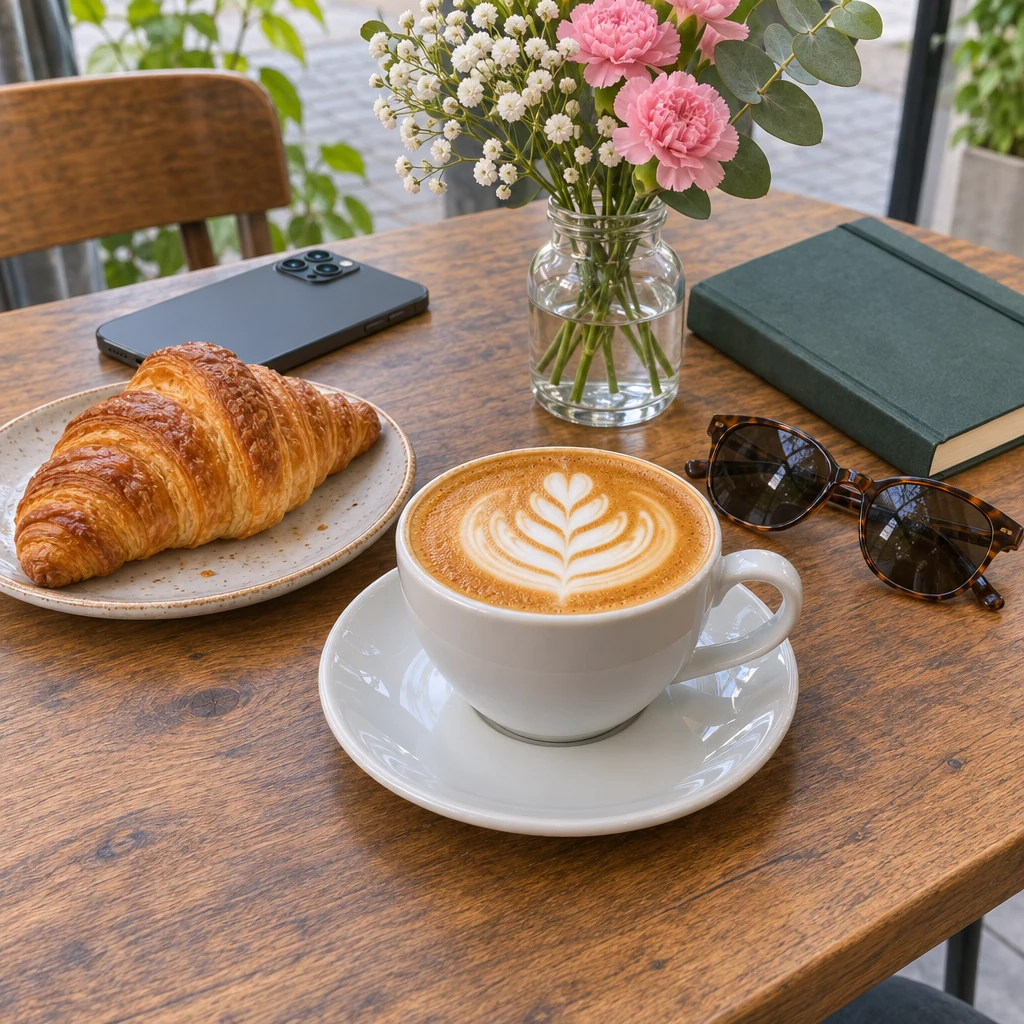
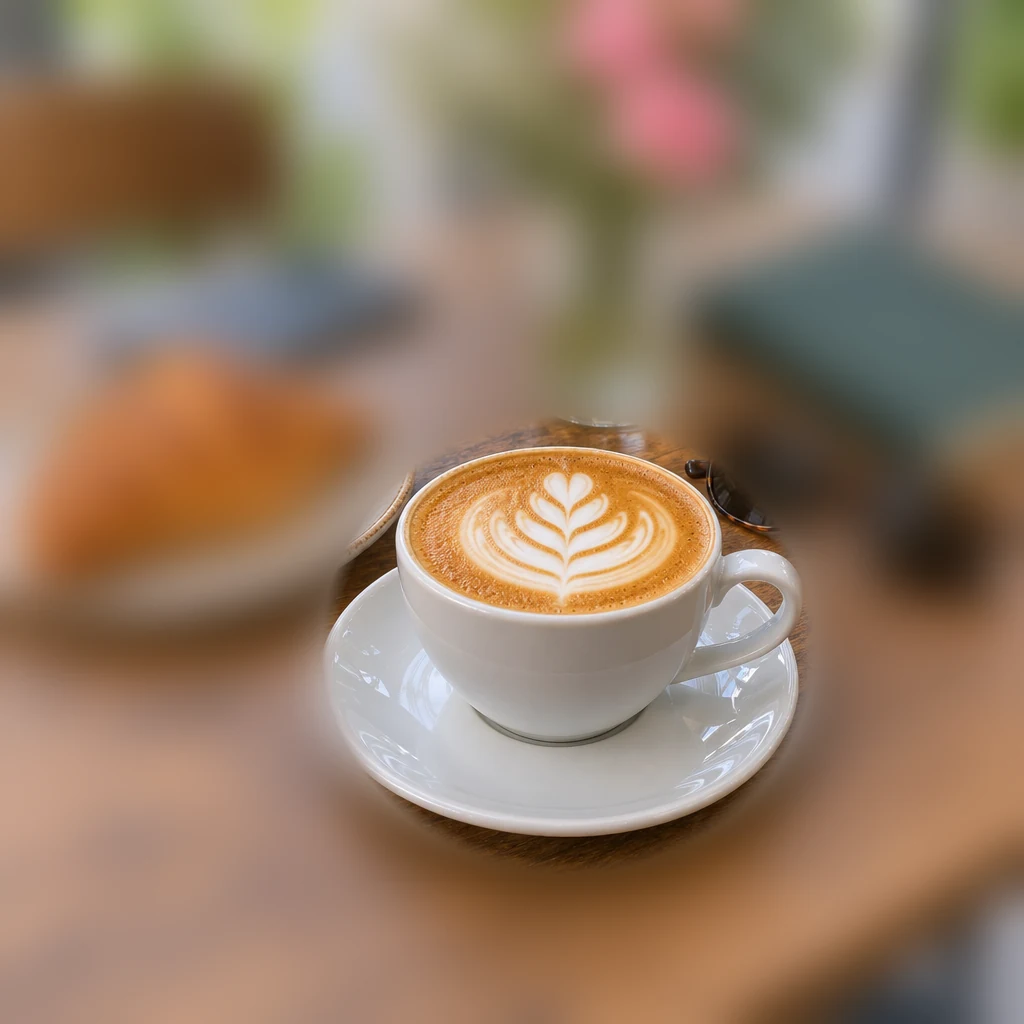
The whole photo is blurred, and an oval set to Keep sharp leaves the cappuccino clear.
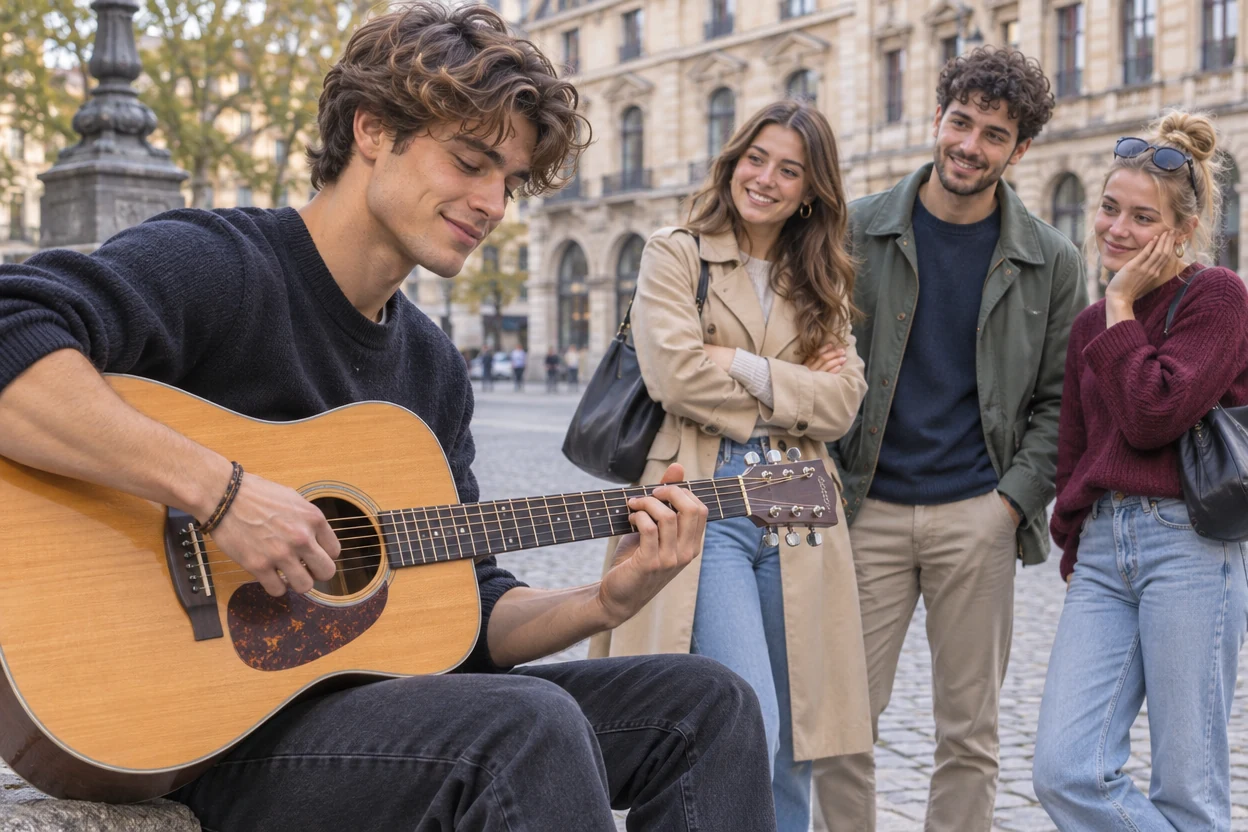
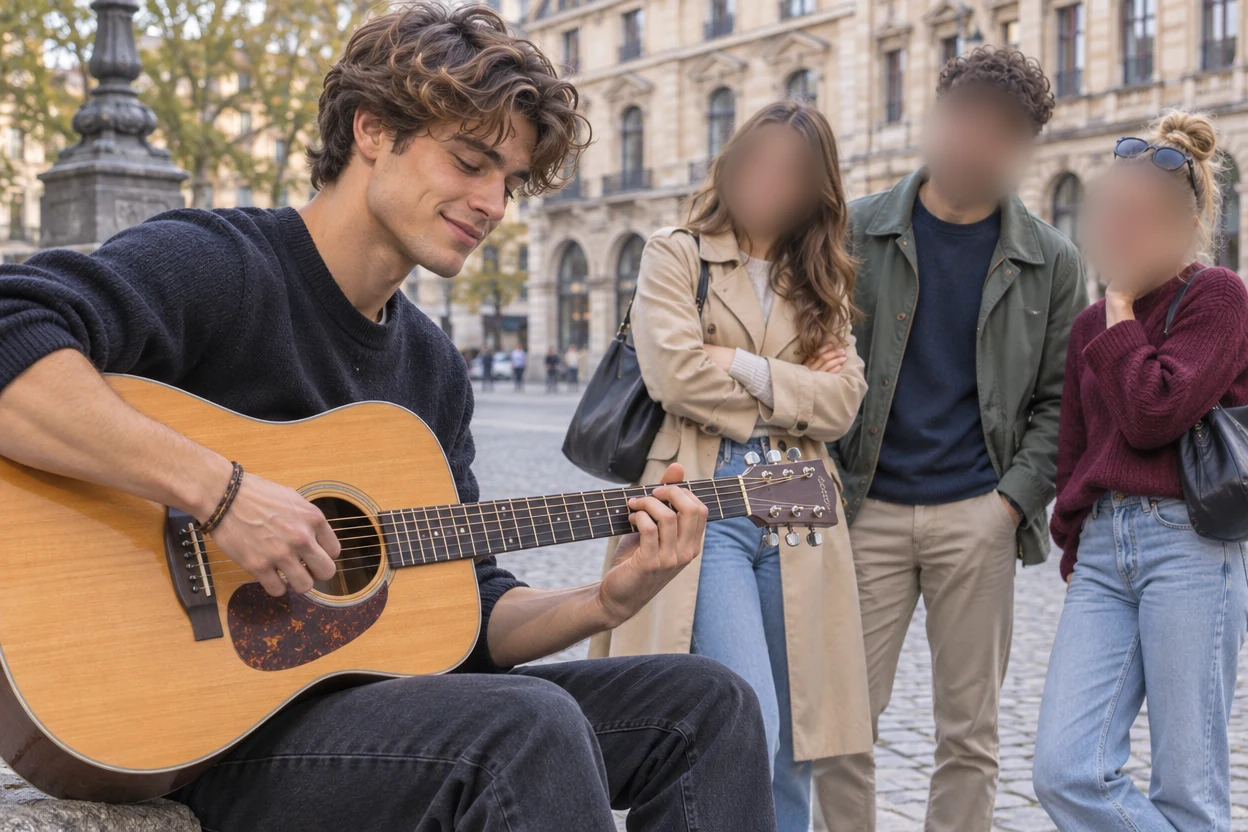
The three people watching are blurred, and the guitarist stays exactly as he was.
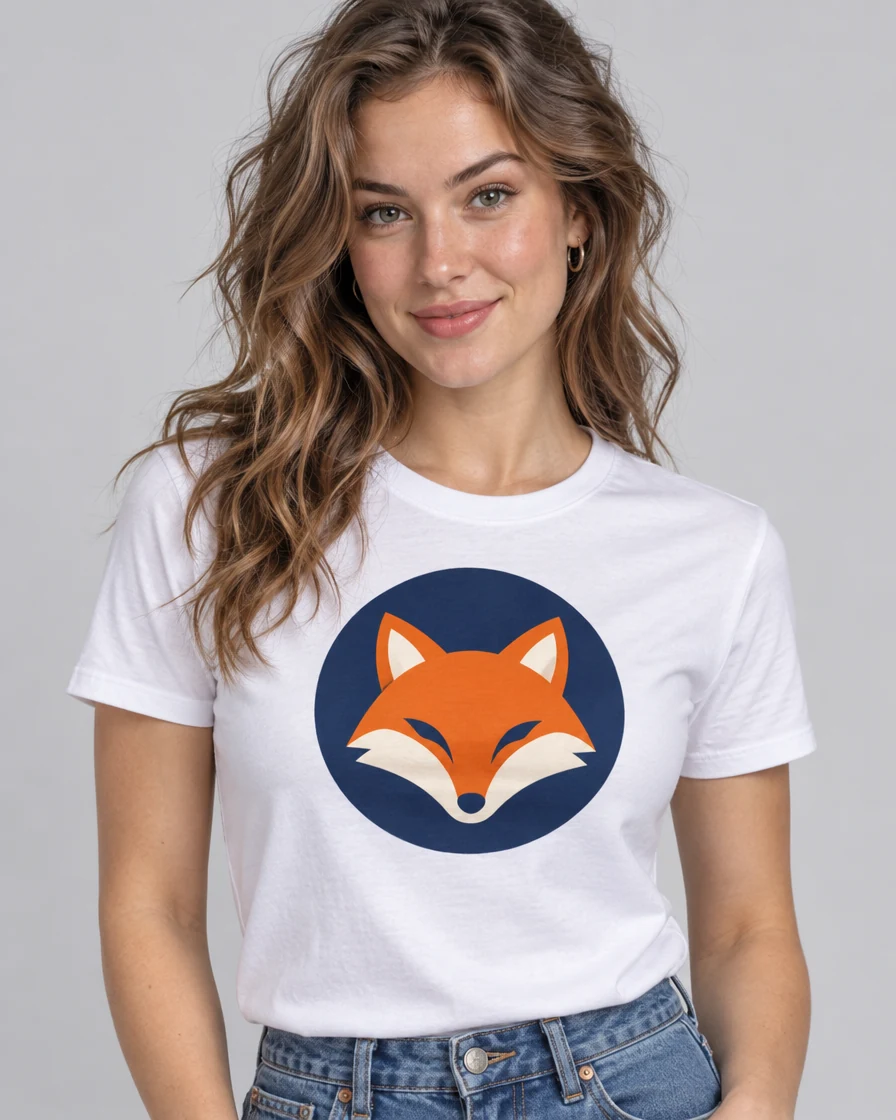
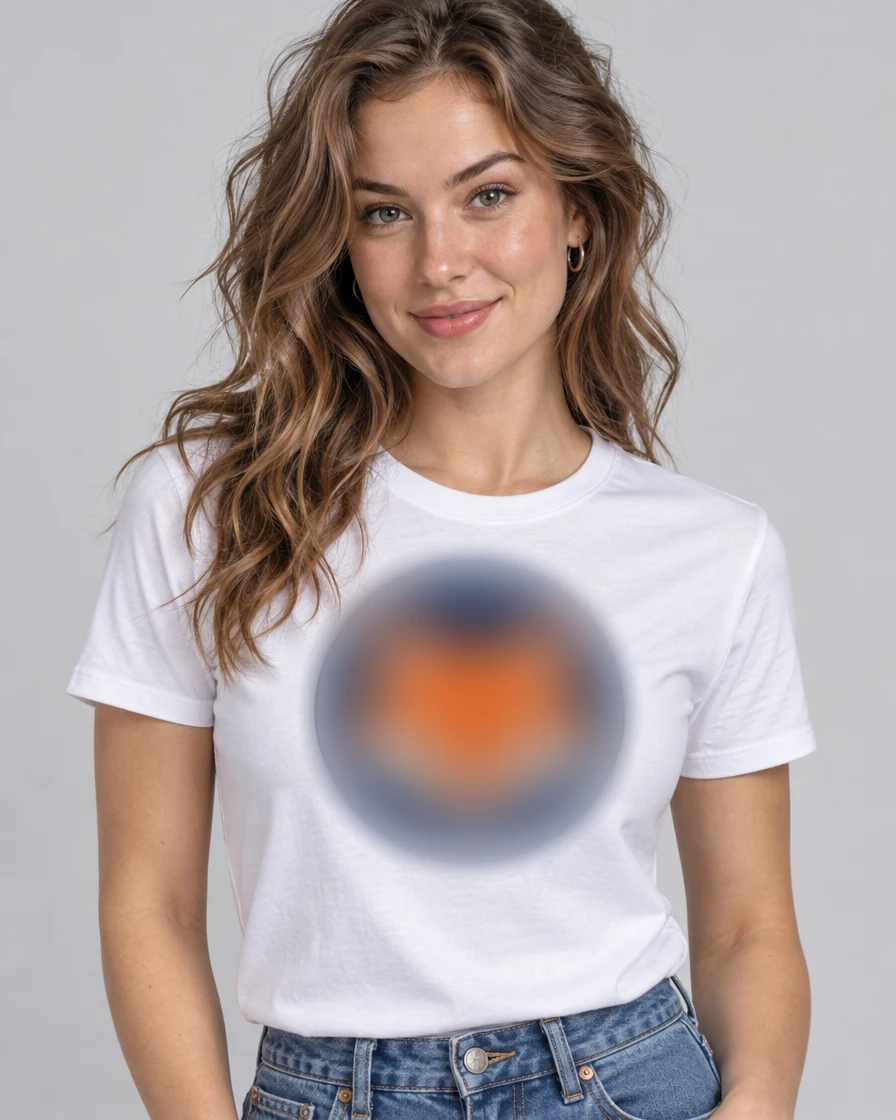
One oval over the emblem blurs it into a soft patch of color.
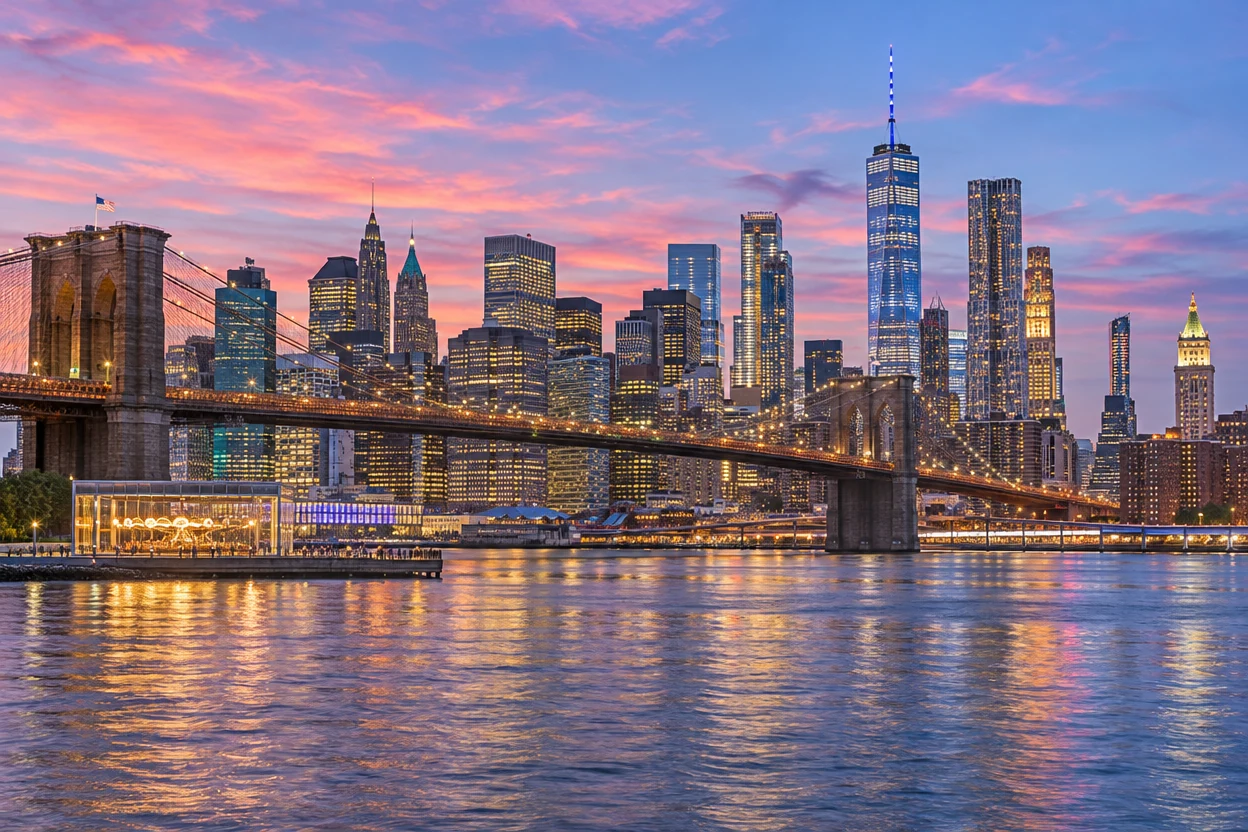
Whole picture with Blur turns the city into a soft background for text.
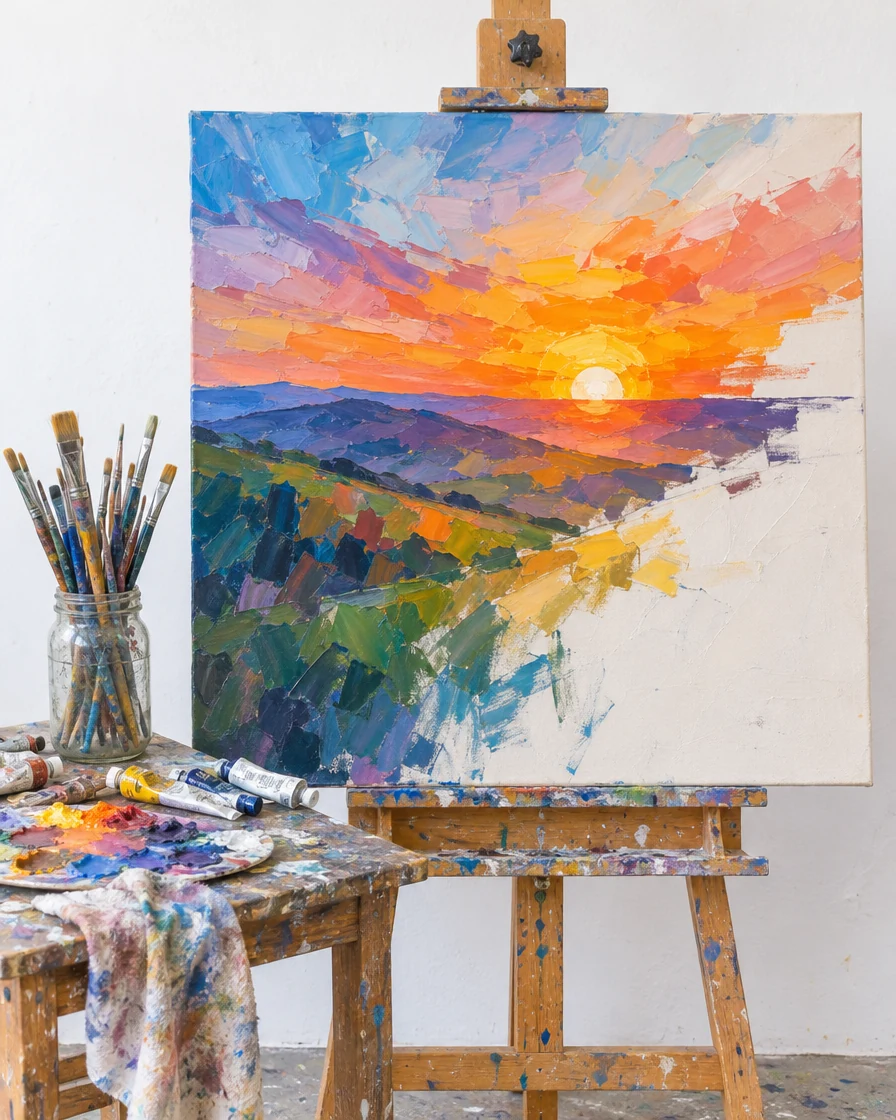
One box over the canvas hides the work while the studio stays sharp.
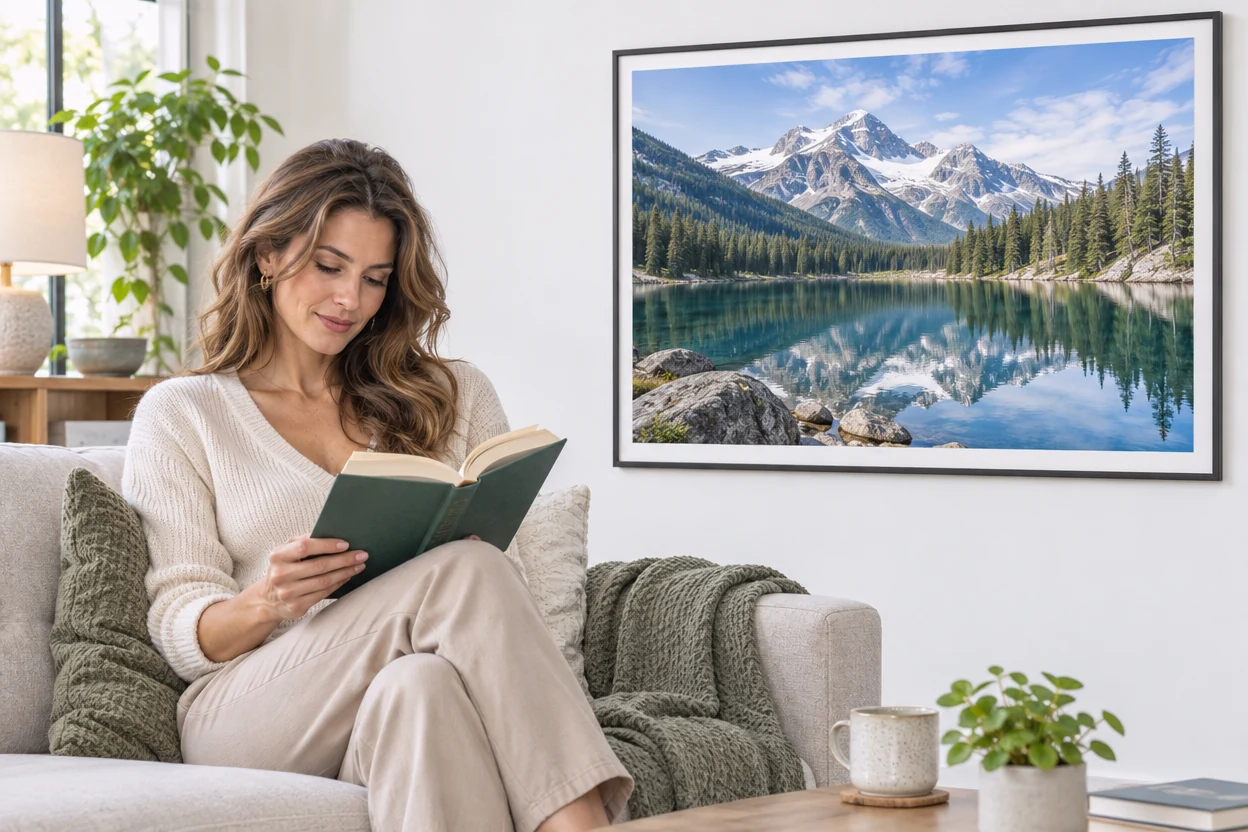
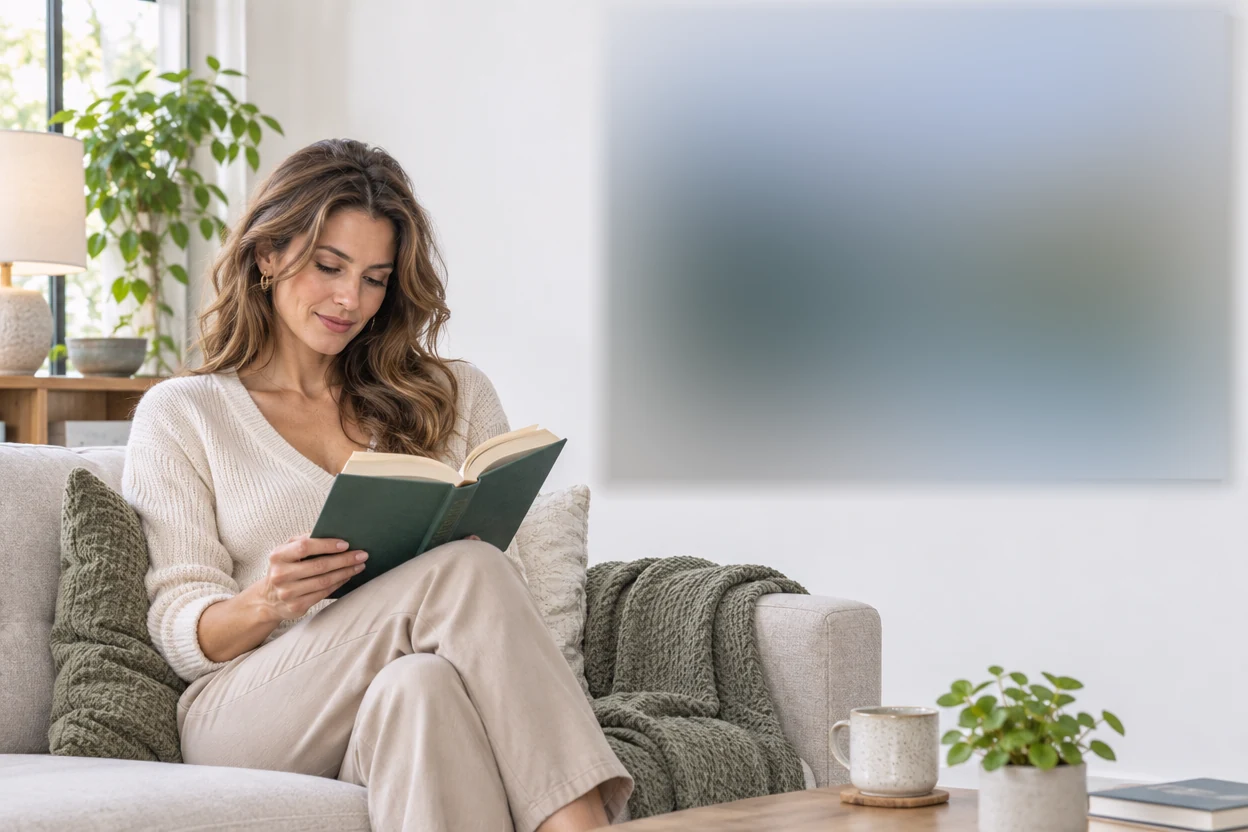
One box blurs the framed print, and the room around it stays clear.
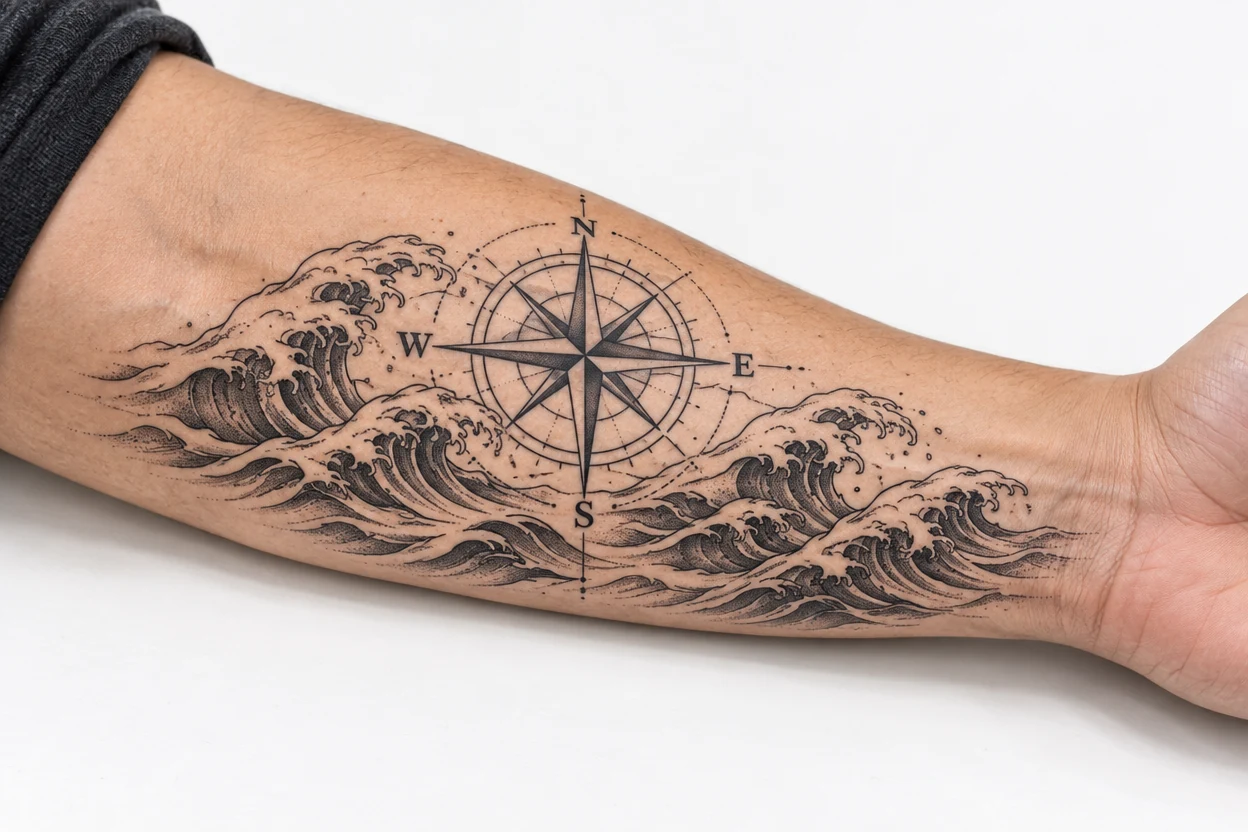
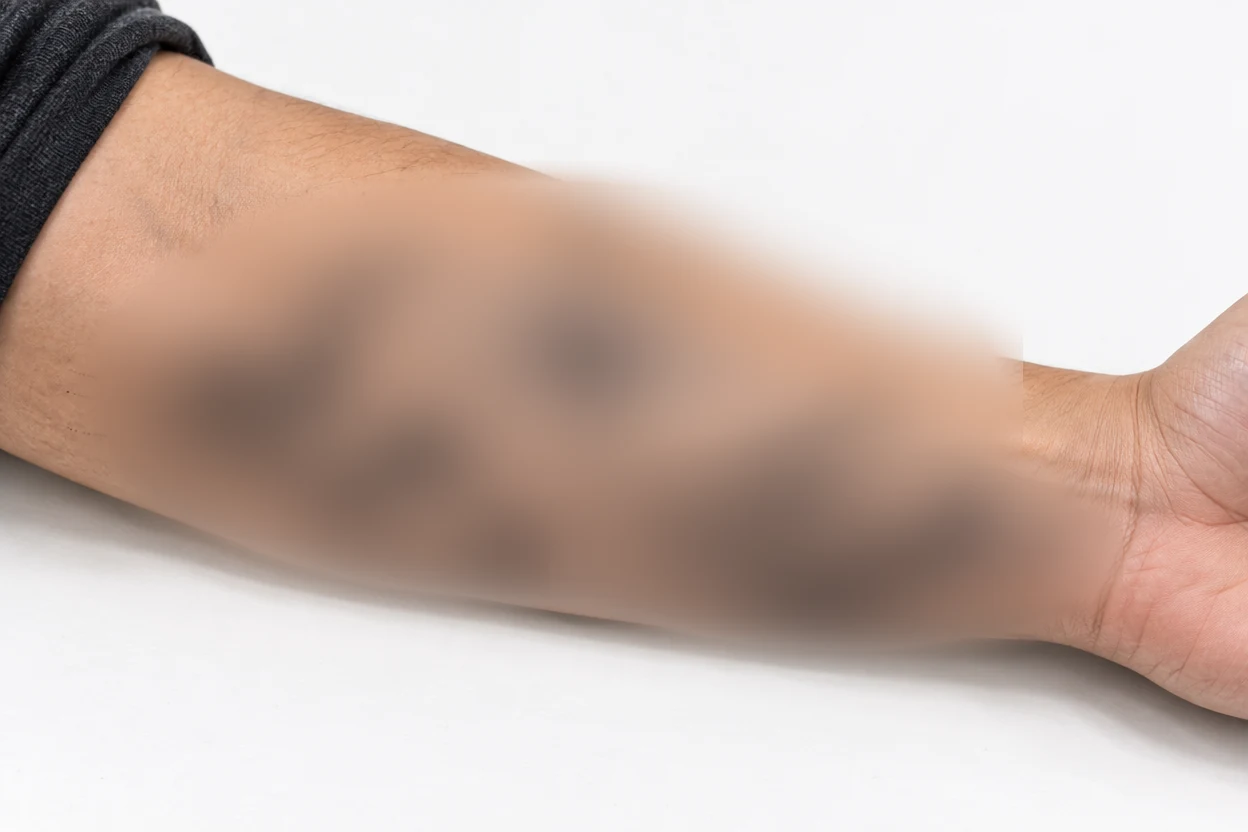
Two ovals follow the arm and blur the tattoo away.
Three steps to blur a picture, all in your browser.
Drop a photo, choose a file or paste one from your clipboard. PNG, JPG, WebP, GIF, BMP and AVIF all work, up to 40 megapixels.
Press Find faces, or drag a box or an oval over a face, a logo or a sign. Paint with the brush for odd shapes, or pick Whole picture and keep the subject sharp with an oval set to Keep sharp.
Pick PNG, JPG or WebP and download. The file keeps the photo's full size, and it is written anew, so location and camera data stay out of it.
When you blur an image here, it softens exactly what you mark, by as much as it needs, and leaves the rest of the photo untouched.
OriginalA blurred area melts into the picture around it instead of ending in a hard line, so a blurred face or logo looks like part of the photo, not a patch on top of it.
The blur scales with what it covers, so a small face in the background is softened as much as a large one in front. One slider, the same look at any photo size.
OriginalFind faces looks through the whole photo, small faces in a crowd included, and blurs each one with an oval you can move, resize or delete.
OriginalBlur the whole picture, then draw an oval over the subject and set it to Keep sharp. The cup, the product or the person stands out, and everything around it melts away.
OriginalDrag a box over a sign, an oval over a face, paint along a tattoo with the brush, or blur the photo from edge to edge. Every area keeps its own strength.
The photo is edited on your device and never uploaded, even when faces are found. The download is a new flat file with no layers, no history and no location data.
A few habits for a blur that hides the right thing and still looks good.
Blur is the natural choice for faces, logos, tattoos and backgrounds: the photo keeps its colors and mood. For a name, a number or a password, switch the area to Solid, because a flat cover leaves nothing behind to read.
Make the area slightly larger than the face or the logo. The soft edge fades out past it, so a wider area gives a smoother look and covers hairlines and the edges of an emblem.
When you blur image areas with faces, keep the slider at 80% or higher and zoom in to check that eyes and mouth are gone. For a soft background or a gentle focus effect, 40 to 60% is usually enough.
For a focus effect, choose Whole picture, then draw an oval around the subject and set it to Keep sharp. Its edge fades too, so the step from sharp to soft looks like a camera lens, not a cut-out.
Hold Original to see the photo as it was, and let go to see the blur. Undo and Redo step through every change, so trying a stronger or a lighter blur costs nothing.
Anyone who shares a picture and wants part of it softened can blur image areas here in seconds.
Blur the faces of children or friends who should stay private before a photo goes online.
Soften passers-by in the background so the person you photographed is the only one who is recognizable.
Blur logos, brand names or someone else's artwork that should not appear in a listing, a video thumbnail or a post.
Turn a photo into a soft background for a title, a slide or a social post, or keep one product sharp and blur the rest.
Answers about areas, strength, privacy and files.
Open the photo, choose Box, Oval or Brush, and drag or paint over the part to blur. It is blurred at once, and you can move it, resize it or change its strength. Then download the result.
Yes. This blur image tool is free, with no sign-up, no watermark and no daily limit. It runs in your browser, so there is nothing to install.
No. The photo is opened, edited and saved on your own device. Finding faces also happens in your browser, so nothing is sent to a server.
Press Find faces and every face it sees gets a blurred oval, small ones in a group photo included. Move or resize an oval to fit, delete one you want to keep, or draw your own for a face seen from the side.
Yes. Choose Whole picture to blur the entire photo, then draw an oval over the subject and set its effect to Keep sharp. That part stays exactly as it was, with a soft edge around it.
For text, numbers and passwords, use Solid instead: a flat cover keeps nothing of what is under it. Blur suits faces, logos, tattoos and backgrounds, where the photo should still look natural.
Yes. The file has the same pixel size as your photo, up to 40 megapixels on a computer and 16 on a phone, and only the areas you marked change. Location and camera data are left out of the file.
Yes. Open the page on your phone, tap to choose a photo, drag with one finger to mark an area and pinch to zoom. The photo stays on your phone the whole time.
Open a photo, mark what to soften and download it in seconds. Blur image areas free in your browser.
Open a photo