Image to Layers: Split Any Picture into Transparent PNG Layers
Upload a picture and our image to layers AI separates the subject, the text and the background into full size transparent PNG layers, then paints in what was hidden behind them.
Outputs: aligned transparent PNG layers (ZIP) and a layered PSD
Image to layers turns one flat picture into a stack you can move, hide or animate. Every layer keeps the same canvas size, so the stack lines up perfectly in After Effects, Figma or Photoshop.
See How Image to Layers AI Splits a Picture
These layers came out of the same model that runs the tool above. Switch layers off, spread them apart in 3D or play the parallax preview. Exploring the examples is free; splitting your own picture uses credits.
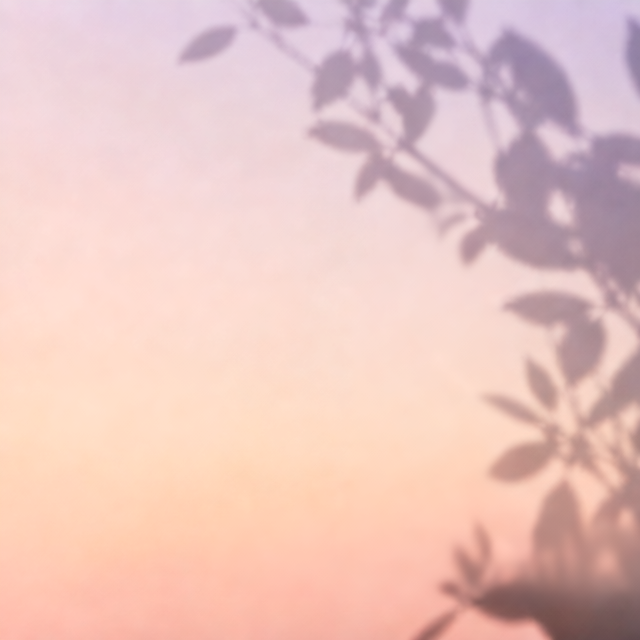
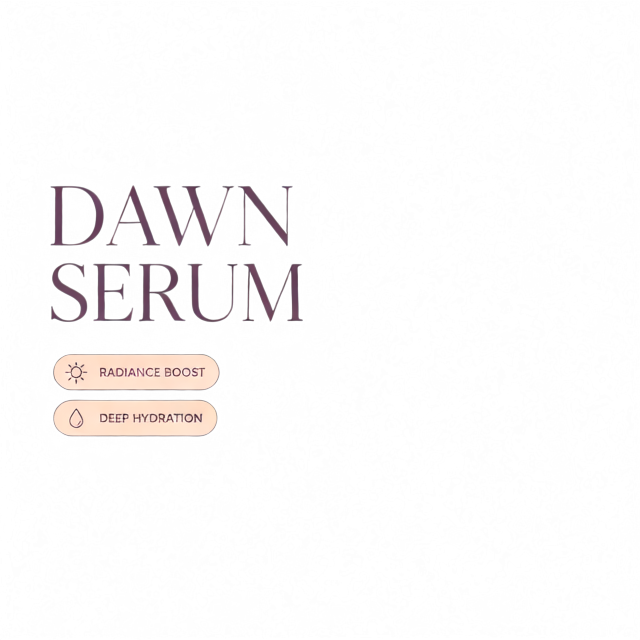
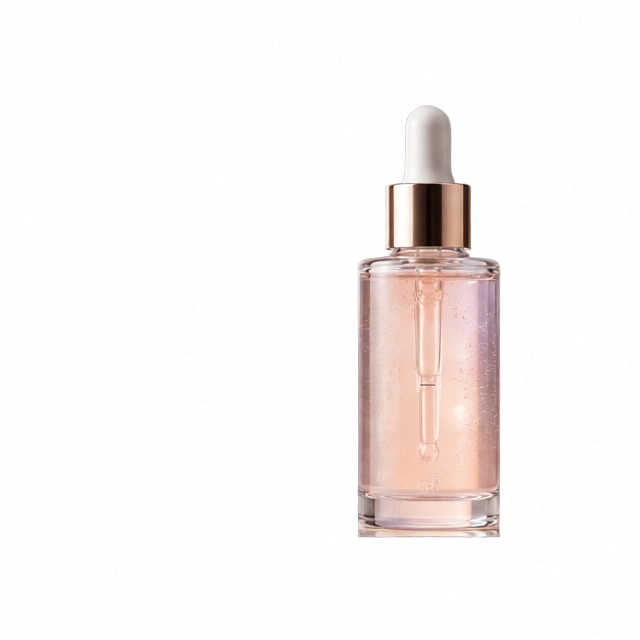
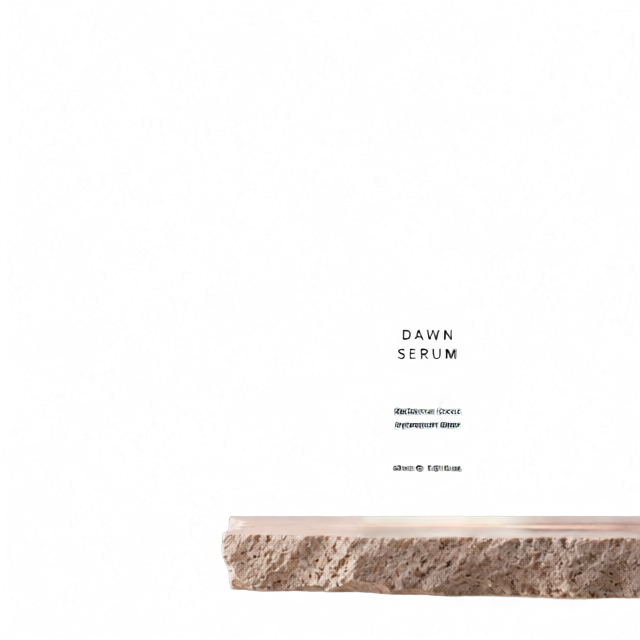
Layers · 4
- Layer 303-layer.png
- Layer 202-layer.png
- Layer 101-layer.png
- Background00-background.png
Full canvas PNGs, aligned and named by depth
What AI Layer Splitting Does Well and Where It Struggles
Splitting with AI is fast, but it is not magic. Knowing where it shines saves you credits.
Splits cleanly
- Illustrations, posters and flyers with clear shapes
- Product shots on a plain or simple background
- Scenes with a distinct subject, middle ground and sky
- Large headline text set apart from the picture
Harder to split
- Objects that overlap heavily or share the same colours
- Glass, smoke, water and other see through materials
- Fine hair, fur and lace edges
- Small body text, which can blur into the background
Anything hidden behind a subject is painted in by the AI, not recovered from your original. Layers come out at about 640 pixels on the long side, which suits web, video and social posts. Check the filled areas in the viewer before using them in close ups.
How to Split an Image into Layers in 3 Steps
No Photoshop and no selections. This tool does the cutting and the background repair for you.
- 1
Upload your picture
Drop a JPG, PNG or WebP up to 10 MB, or paste a screenshot. An optional caption that names what is in the picture helps the AI layer separation.
- 2
Choose 2 to 8 layers
Two layers give a subject and a background; four to six suit posters with a product and a headline. The credit cost shows on the button before you start.
- 3
Preview and download
Open the layer viewer to check each layer in 3D, then download the transparent PNG layers as a ZIP, one layer at a time, or as a layered PSD.
What You Can Do with Separate Layers
Separate layers turn a still picture into something you can animate, restyle or reuse. These are the most common reasons people do it.
Animate it in After Effects
Put the subject, the props and the background on their own tracks and move them independently, with no hole left where the subject used to be.
Make a 2.5D parallax shot
Push the background back, pull the subject forward and add a slow camera move, and one still picture becomes a moving shot.
Edit designs in Figma or Canva
Swap the background of a poster, move the product or retype a headline over a clean background instead of redrawing the whole design.
Build game and Live2D assets
Separate characters, scenery and foreground into PNG layers ready for rigging in Live2D or Spine, or for a parallax background in Unity and Godot.
Why Use This Image to Layers Tool
Built for people who will open the layers in another app next, not just look at them.
Aligned, full canvas layers
Every PNG layer keeps the original canvas size and position, so the stack lines up the moment you import it. No nudging layers back into place.
The hidden background is filled
When a subject is lifted off, the AI paints the background behind it, so moving a layer never reveals a hole.
Preview your own layers in 3D
Spread your result apart, switch layers off or play a parallax preview before you download anything.
Files named by depth
The ZIP lists 00-background.png, 01-layer.png and up in stacking order, which is how After Effects and Figma will import them.
From 2 to 8 layers
Pick the layer count that fits the picture, add a caption to guide the split, and fine tune guidance and steps under Advanced.
PNG layers or a PSD
Download transparent PNG layers for animation and design tools, or a layered PSD for Photoshop, from the same result.
3 Ways to Separate Layers from an Image
You can separate layers from an image by hand, with Photoshop masks, or with AI. Here is what each method gives you, then how to use the finished layers in popular apps.
Method 1: Select and copy to a new layer in Photoshop
Select the object with the Object Selection or Quick Selection tool, refine the edge with Select and Mask, then press Ctrl+J (Cmd+J on a Mac) to copy it onto a new layer. The original layer still contains the object, so you fill that area with Content Aware Fill or Generative Fill. It gives the most control and takes from minutes to hours per picture.
Method 2: Mask All Objects in Photoshop
Recent Photoshop versions can create a mask for every object in one click. You get masks over the same flat pixels, not separate layers with a repaired background, so you still copy each object out and fill what was behind it.
Method 3: AI layer separation in one step
A tool like this one reads the whole picture, splits it into the number of layers you ask for and fills the covered background for you. It takes about a minute and works best on illustrations, posters, product shots and scenes with clear elements.
Use the layers in After Effects
Import the PNG layers, select them all and choose New Composition from Selection. Turn on 3D for each layer, push the background back on the Z axis and add a camera with a slow move for a parallax shot. Every file is full canvas, so nothing needs to be repositioned.
Use the layers in Figma or Canva
Drag the PNG files onto the canvas starting with 00-background.png and align them to the same frame. You can then swap the background, move the product or retype the headline over a clean background.
Use the layers in Live2D, Spine or a game engine
Rigging tools expect each part on its own layer and read the layer names. Import the layered PSD or the PNG stack, rename the parts, and trim the empty space if your engine prefers cropped sprites.
Image to Layers FAQ
Quick answers about splitting an image into layers, pricing and the files you get.
Split Your Image into Layers Now
Upload a picture, preview the layers in 3D and download aligned transparent PNG layers in about a minute.